Local Media Server
Background
I have always preferred to store my content locally, Until now, I used a USB to store the files I wanted to see on my TV, but since adding new content was very tedious, I decided to start this project
The project
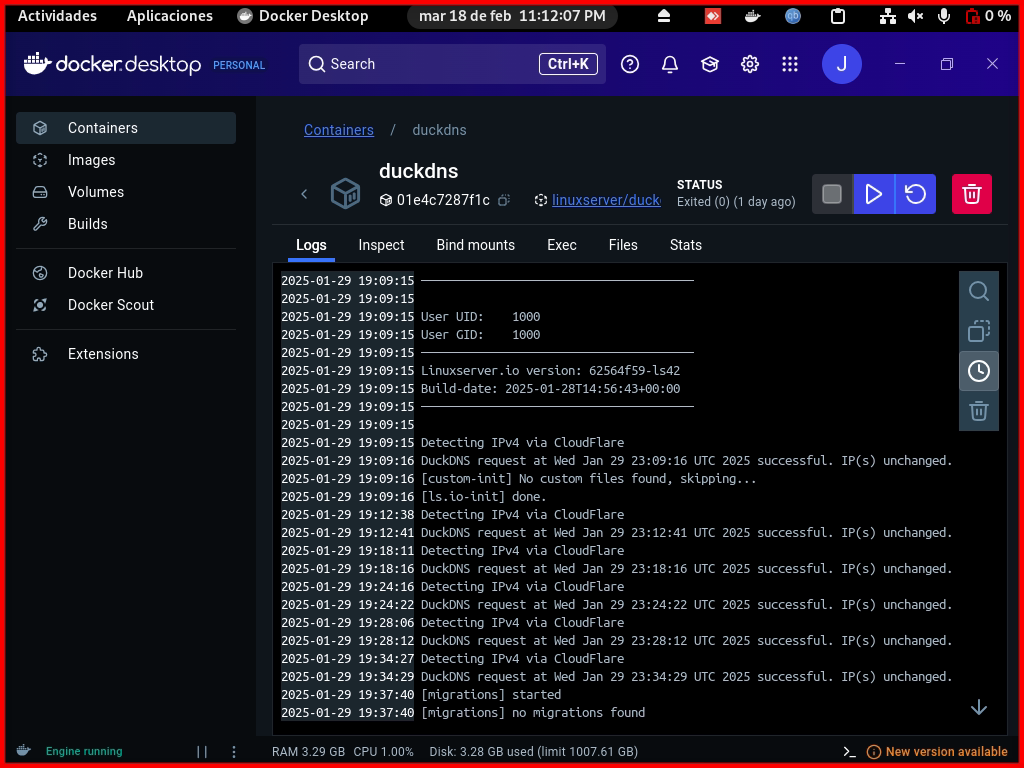
Updates have been made on the server, can read about it in the Second and Third post.
Since I wanted it to be local, I decided to use an old laptop I have at home (A Samsung with an Intel Core i3, 8 GB RAM, 240 GB SSD) as a local server using Debian as the OS and the 1TB USB as extra storage.
I used Docker since I wanted to learn how to use it. As a media server I decided to use Jellyfin since it is open source. To access data remotely within the network, I used Samba. In order to publish it on the web at the beginning, I used duckdns and port forwarding. Then I decided to purchase a domain and set up a tunnel using Cloudflare for more security.
You can take a look at the project:
Username: Guest
Password: 1234
Notes:
Since this is a small personal project and not a full-fledged streaming service, I've limited the Guest user as follows:
- Only a small portion of content can be accessed
- Only 10 simultaneous sessions allowed
- Limit internet streaming bitrate (Mbps) to 1
- Periodically I will log out and change the user's password
Setting up Local environment
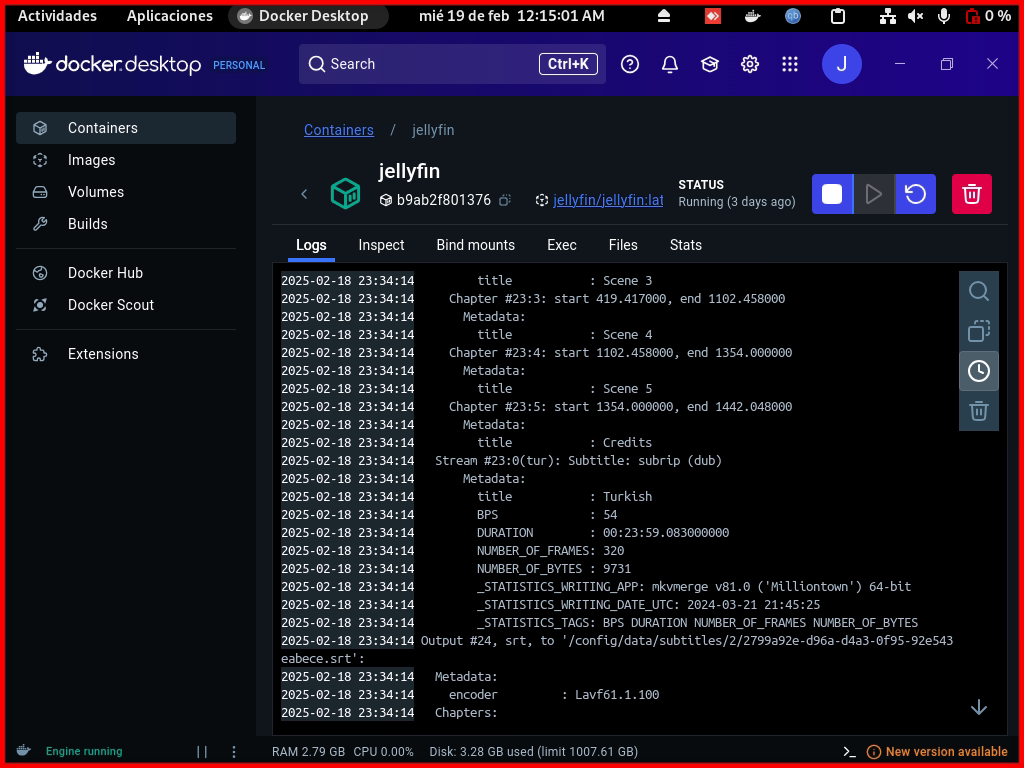
After a clean installation of Debian, I set a static IP for my local network. After installing Docker, I learned how to allow it to access devices such as USB in an easy way. I created a docker compose file with the necessary configurations to download and start the server.
# docker-compose.yml
services:
  jellyfin:
    image: jellyfin/jellyfin:10.10.7
    container_name: jellyfin
    user: 1000:1000
    network_mode: 'host'
    volumes:
      - config:/config
      - cache:/cache
      - type: bind
        source: /mnt/storage
        target: /USB
    restart: 'unless-stopped'
    extra_hosts:
      - 'host.docker.internal:host-gateway'
volumes:
  config:
  cache:
We can create and start the container with the following command:
$ docker compose up -d
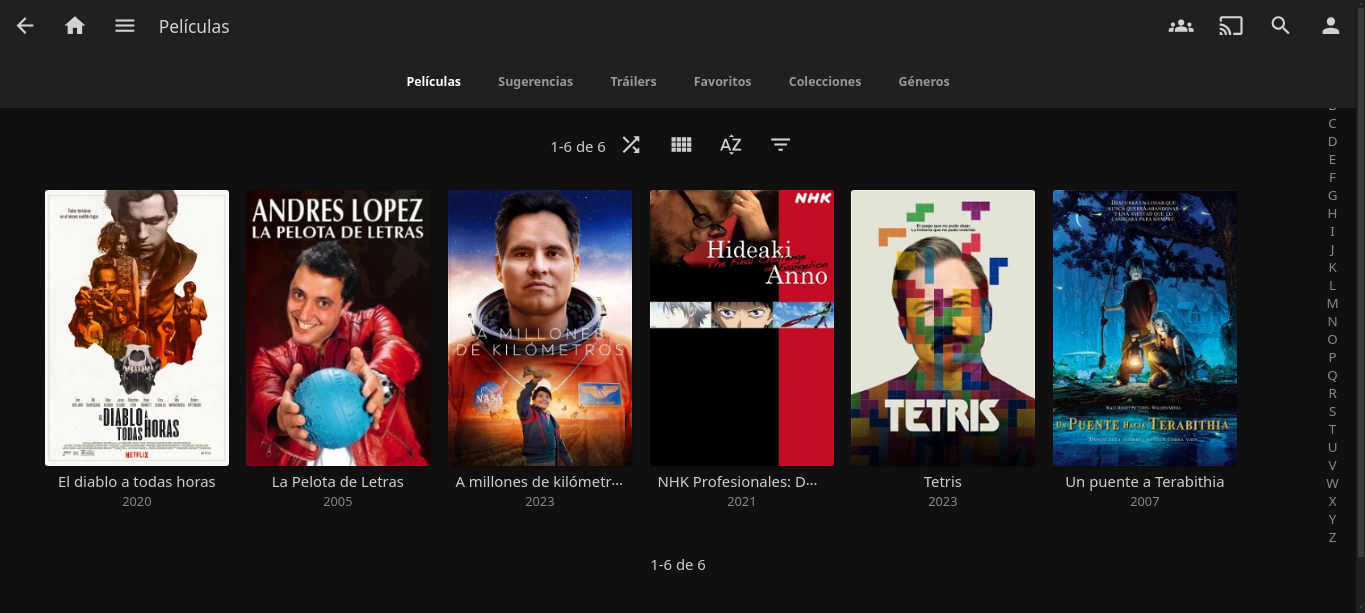
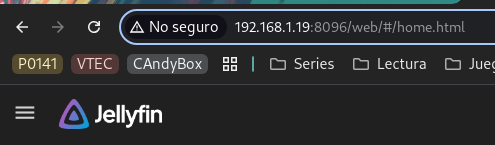
After doing the initial configuration of Jellyfin and setting up the media library, I could already access it from any device within the network with the local IP and port. This was my first achievement.
First attempt to go online
The project could have ended in the previous step, but I wanted my family members who don’t live with me and my friends to also be able to enjoy this project.
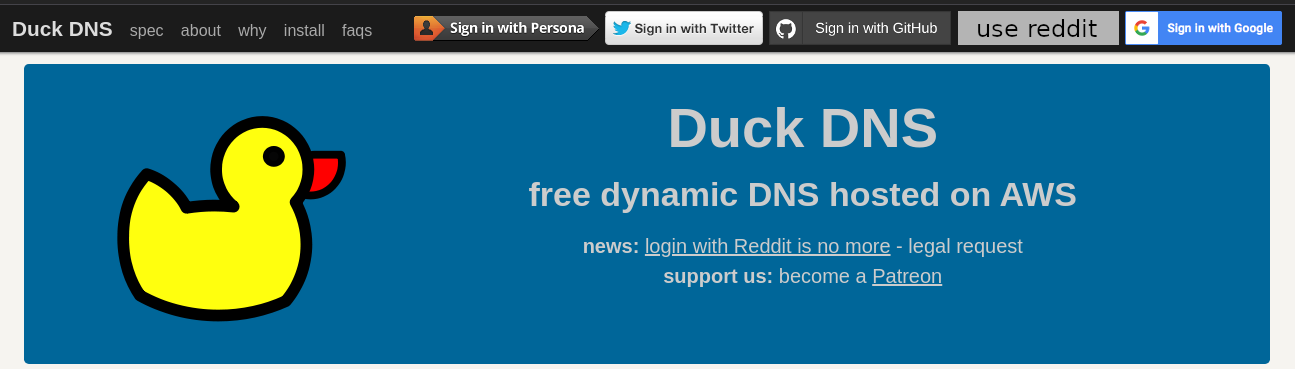
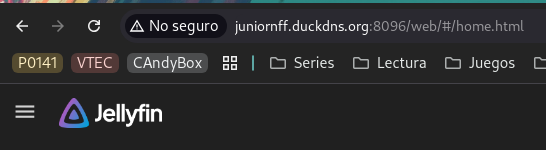
My research on how to remotely access the server led me to investigate DNS. Although the public IP address could be enough, I wanted an easier way to access it than typing numbers into the browser, so looking for DDNS providers I found Duckdns, a service that offered just what I needed (Free). I didn’t care that it was a subdomain, since it was a simple and personal project.
Dealing with ISP’s dynamic IP addresses
Even though DuckDNS made my server more accessible, my ISP regularly changes my public IP. To ensure that Duckdns always points to the correct IP, it provides several options to automate the task of updating the public IP address. In the end, since I didn’t want to install anything on the OS, I opted for a docker image made by the linuxserver community.
# docker-compose.yml
services:
  duckdns:
    image: lscr.io/linuxserver/duckdns:latest
    container_name: duckdns
    network_mode: host
    environment:
      - PUID=1000
      - PGID=1000
      - SUBDOMAINS=juniornff.duckdns.org
      - TOKEN=<API_TOKEN> #Get in the duckdns page
      - UPDATE_IP=ipv4
      - LOG_FILE=true
    volumes:
      - config:/config
    restart: unless-stopped
volumes:
  config:
Port Forwarding
Port forwarding is a way of making a computer on your home network accessible to computers on the internet. This is usually done by ‘opening’ the necessary ports in the router configuration and setting parameters such as ‘local’ and ‘external’, which determine the IPs to which the traffic will be forwarded.
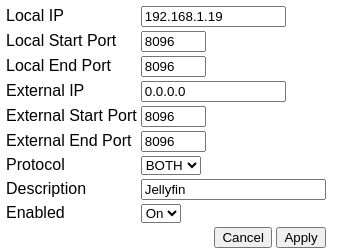
After that configuration I was able to access the server from any network just adding the open port at the end of the url.
And once again, I could have left the project as it was, but something didn’t sit well with me:
- It was connected via HTTP (not secure)
- I was afraid of what could happen in case of DDOS attacks (unlikely but it never hurts to be safe)
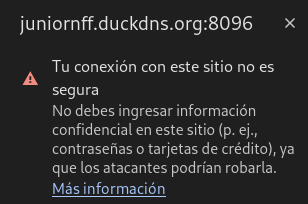
So I decided to keep investigating…
Using the proper technologies
The research led me to learn about Cloudflare.
![]()
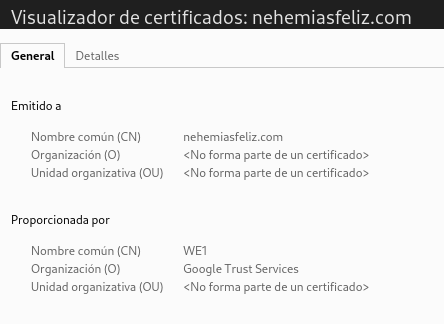
After understanding well how the process would be, I had to buy a domain, since although Cloudflare provided what I needed (HTTPS and DDOS protection) for free, I could not continue using DuckDNS, so I had to buy a domain, Cloudflare allows you to buy domains, which made the process of setting it up much easier.

The next thing to implement was their tunneling system.
Cloudflare Tunnels
Definition:
Cloudflare Tunnel provides you with a secure way to connect your resources to Cloudflare without a publicly routable IP address. With Tunnel, you do not send traffic to an external IP — instead, a lightweight daemon in your infrastructure (cloudflared) creates outbound-only connections to Cloudflare’s global network. Cloudflare Tunnel can connect HTTP web servers, SSH servers, remote desktops, and other protocols safely to Cloudflare. This way, your origins can serve traffic through Cloudflare without being vulnerable to attacks that bypass Cloudflare. 1
Example:
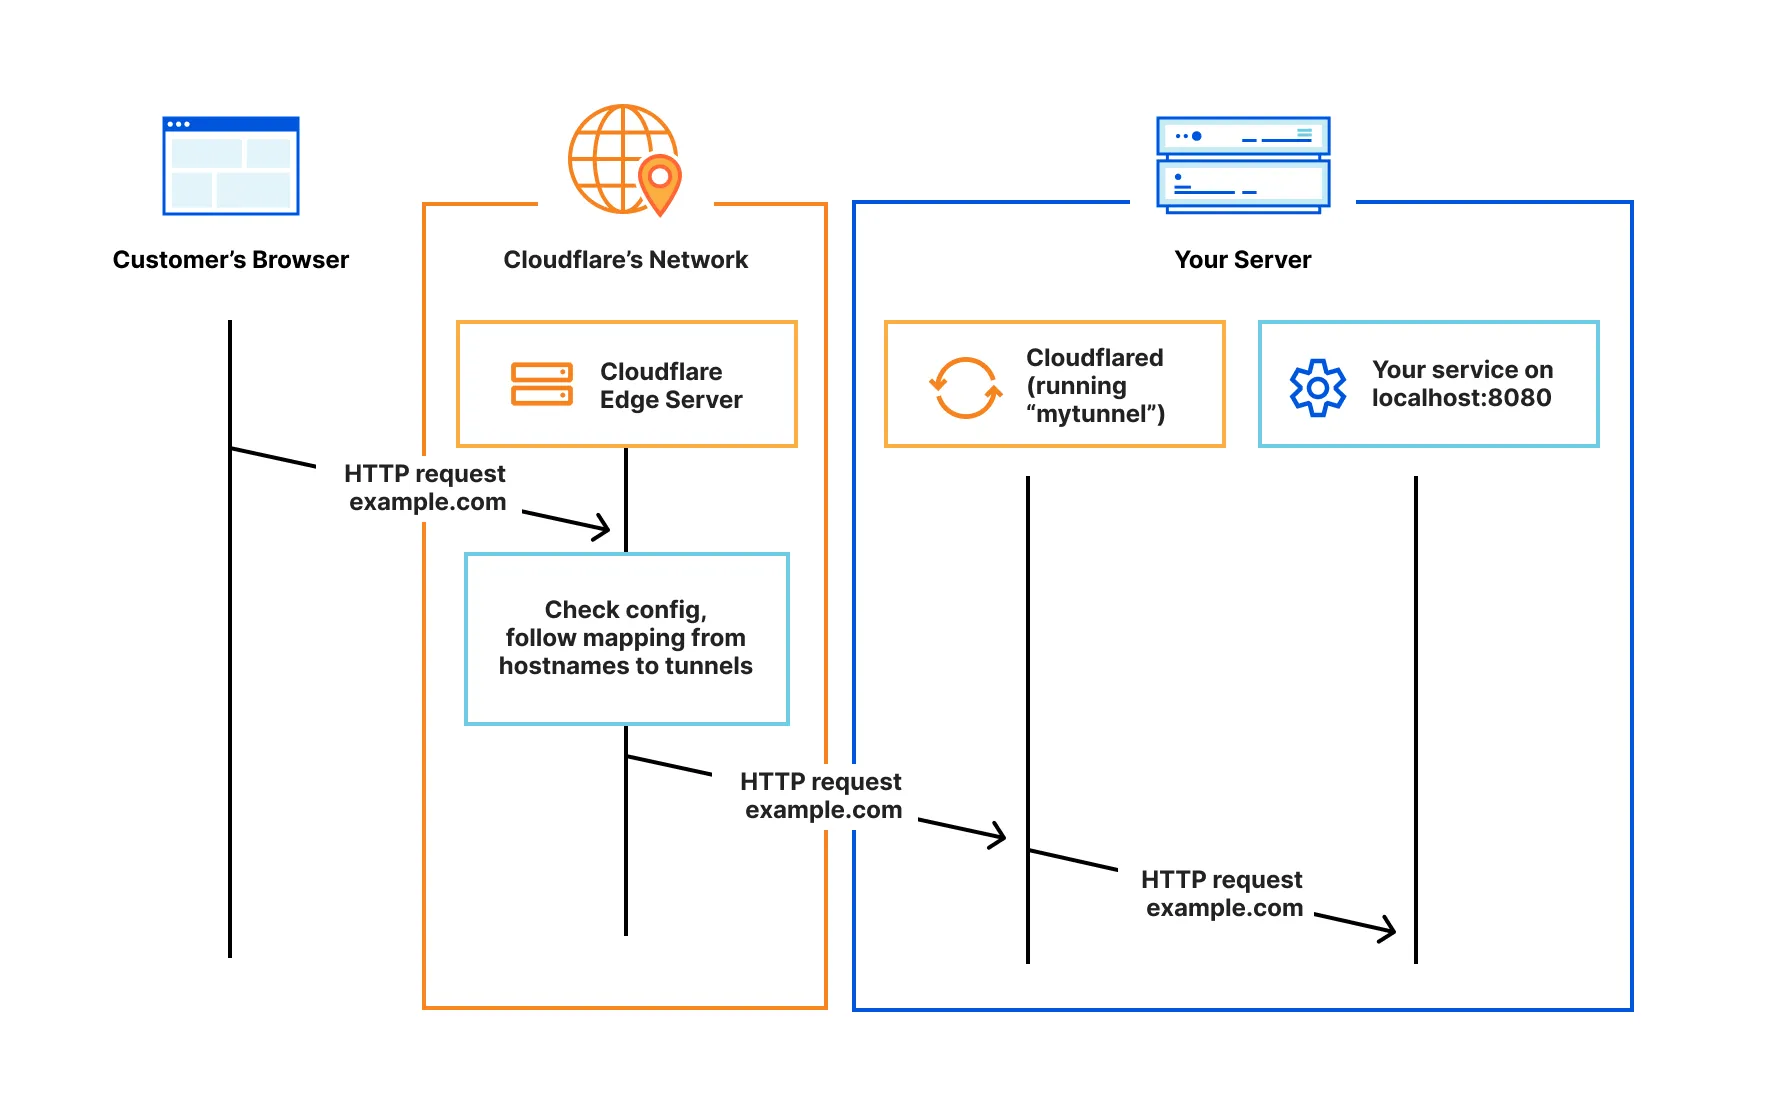
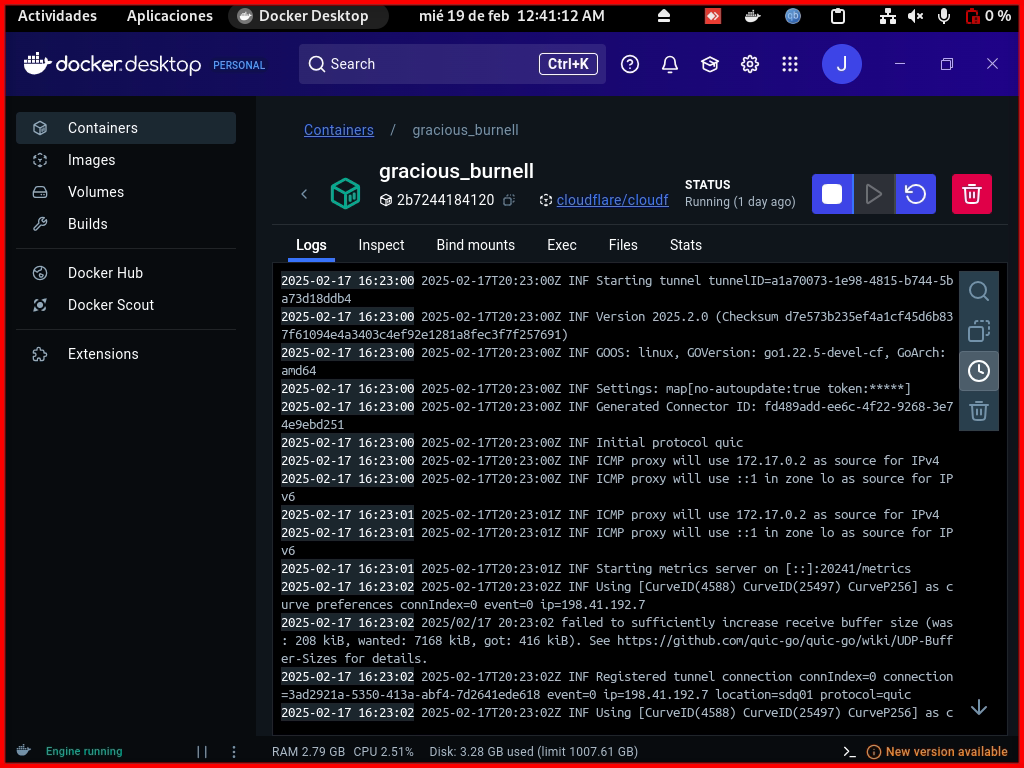
Cloudflare provides several ways to install these tunnels, as you can imagine I chose the option of doing it through docker. In this case just a docker run will be enough:
$ docker run cloudflare/cloudflared:latest tunnel --no-autoupdate run --token <TOKEN>
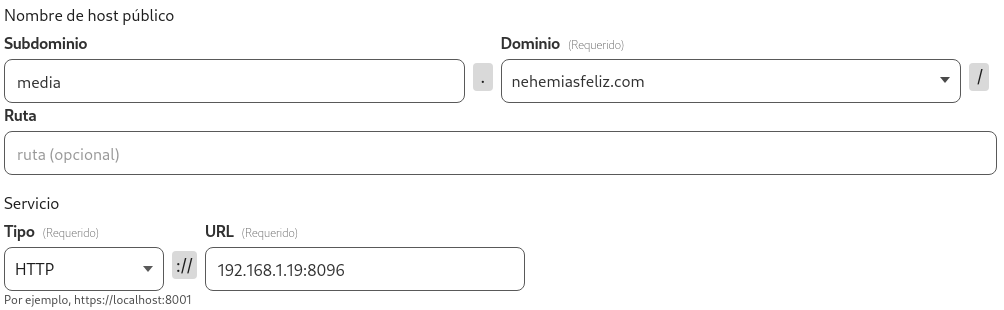
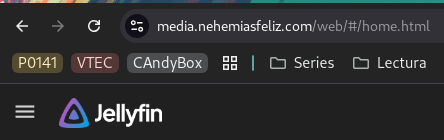
With that, I’m able to create subdomains/routes that link to IP addresses on my local network, said subdomains/routes being accessed through HTTPS by SSL certificates without having to open/expose any ports on my router.
And with that, now I can say that for now, I have completed the project. A local media server for me, my family and friends.
Future plans and limitations
Problems and Limitations
The main limitation of the project is its low processing capacity due to the hardware, poor physical protection of the data and scalability.
Processes such as scanning the library, extracting metadata, or transcoding during streaming consume all the CPU’s capacity., making its use very limited to simply being a very basic media player, not taking advantage of all the options that Jellyfin has.
Using an external USB as a storage medium is a simple implementation, but I know that it does not have the best read/write times and that when exposed it runs the risk of being disconnected/damaged by many factors and the loss of information that this entails.
Additionally, since it is an old laptop, its battery no longer works, so it depends exclusively on its charging cable, making any power outage cause the computer to shut down immediately.
Solutions
The primary solution is not to depend on external power, buy a battery replacement and provide a UPS for any power outage.
The next long-term solution will be to upgrade to a computer with higher processing power, increase storage with dedicated SSDs (possibly implementing RAID for more reliability).
Future plans
Implement Bakcups with periodic information, not about the videos themselves, but about the server configuration among other data relevant to the project.
Implement wake-up-lan so that in case of a power failure or sudden shutdown, the laptop can be turned on remotely.
Plan the migration to the new computer taking into account the recommendations/tools proposed by the documentation.
Implement LDAP Authentication for the automatic management of new users with default options, thus facilitating access to new users with whom you share the project.
Considering the future change of computer, I plan to use proxmox to be able to use that power for more projects.
Conclutions
The best thing about working in this industry is that any project you undertake, whether for personal or professional use, presents challenges and allows you to learn new technologies that will surely be useful in your next job or project.